
How to Pack Fragile Dishes for a Safe Move
Learn how to pack fragile dishes with practical steps that prevent chips, cracks, and broken boxes during your move, from kitchen shelf to new home safely.
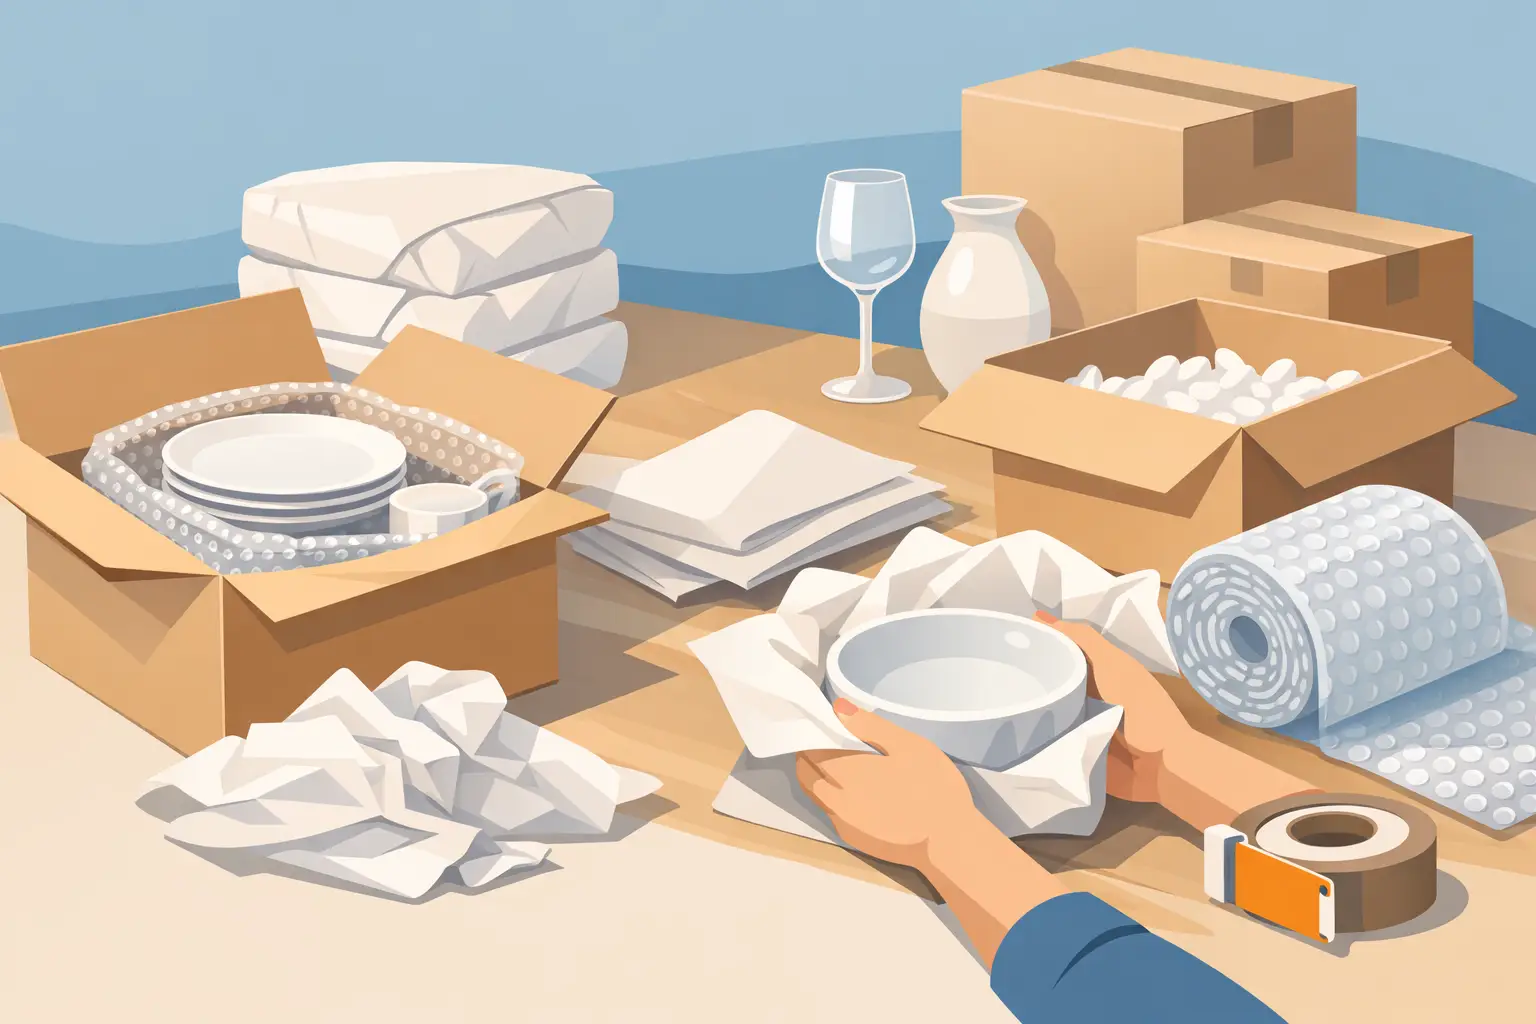
A kitchen can look packed until you reach the cabinet with the everyday plates, serving bowls, wine glasses, and the dish your grandmother gave you. That is where rushed packing creates broken boxes and chipped edges. Knowing how to pack fragile dishes properly comes down to using the right materials, keeping boxes manageable, and packing every piece so it cannot shift in transit.
Gather the right packing supplies first
A few solid supplies make a real difference. Use sturdy small or medium moving boxes, plain packing paper, packing tape, a marker, and plenty of crumpled paper for cushioning. A dish pack box, sometimes called a dish barrel, is a good choice for heavy stoneware, china, or larger sets because its walls are thicker than a standard box.
Avoid relying on newspaper for anything with a light finish or porous surface. Ink can transfer, especially if dishes sit packed for a while. Towels, washcloths, and clean T-shirts can help fill empty space, but they are not a replacement for packing paper around delicate pieces. Bubble wrap is useful for unusually fragile items, such as crystal stemware, but it is not necessary for every dinner plate.
Start with clean, dry dishes. Moisture trapped in a box can leave odors behind and make paper stick to surfaces. It also helps to sort items by type and weight before you begin. Plates pack differently than mugs, and mugs pack differently than stemware.
How to pack fragile dishes one piece at a time
Packing paper works because it creates a cushion around each item while allowing you to nest pieces securely. Lay one plate in the center of a stack of paper, fold a corner over it, add another plate, and continue wrapping two to four plates together depending on their size and weight. Fold the remaining paper around the stack and secure it with tape only if needed.
For dinner plates, saucers, and shallow bowls, pack them on their edges rather than flat in the box. Think of the way records are stored. Dishes are generally better able to handle pressure along their edges than pressure directly on their broad, flat surfaces. Place a layer of crumpled paper at the bottom of the box first, then set wrapped stacks upright side by side.
Deeper bowls should be wrapped individually or nested in small groups with paper between each bowl. Do not force them together. If two pieces need pressure to nest, pack them separately.
Wrap mugs and glasses individually
Mugs need more attention than most people expect because the handle is their weak point. Stuff the inside of each mug with crumpled paper, wrap the handle with an extra layer, then roll the entire mug in paper. Pack mugs upright, never on their sides, with a cushion of paper between them.
Glasses also need paper inside the opening before they are wrapped. For wine glasses, wrap the stem first, then roll the bowl in paper and place it upright in the box. If you have a divided glassware box, use it. If not, create separation with tightly packed paper. The goal is simple: glass should not touch glass.
Give serving pieces extra room
Large platters, casserole dishes, pitchers, and mixing bowls often become breakage points because they are awkward and heavy. Wrap each piece individually, add extra padding around handles or lids, and keep these items near the bottom of a box. A glass lid should be wrapped separately from the dish it belongs to.
For a particularly valuable piece, use a layer of bubble wrap over the paper wrap. This is also a good time to consider carrying irreplaceable china, heirlooms, or specialty glassware in your own vehicle rather than placing it on the truck.
Build the box from the bottom up
A well-packed box should feel full, but not overloaded. Tape the bottom seam of every box and run an additional strip of tape across it for heavy dish boxes. Add two to three inches of crumpled packing paper to the bottom before loading anything.
Place the heaviest wrapped dishes along the bottom and build upward with lighter items. Keep the box low enough in weight that one person can lift it safely. A small box full of dishes can get heavy fast. If you have to strain to pick it up, it is too heavy, even if there is room left at the top.
As you fill gaps, use crumpled paper to stop movement. Do not use loose, flat sheets that compress easily. Once the box is nearly full, add a final layer of paper on top, close the flaps, and gently shake the box. If you hear or feel movement, open it and add more padding.
Write “FRAGILE” and “THIS SIDE UP” on at least two sides of the sealed box. Label the room and a basic description too, such as “Kitchen - everyday plates” or “Kitchen - stemware.” Clear labels help the people unloading the truck place boxes in the right room without guessing.
Common packing mistakes that lead to broken dishes
The biggest mistake is treating a dish box like a storage bin. Empty space is not harmless. During loading, turns, braking, and unloading, items shift into that space and hit one another. Fill every gap before sealing the box.
Another common problem is using one oversized box for an entire kitchen. It may seem efficient, but it creates a box that is difficult to lift and more likely to fail at the bottom. Small, reinforced boxes are safer for dense, fragile items.
Do not stack unwrapped plates inside one another, even for a short local move. One bump can create enough friction or pressure to chip a rim. Avoid packing plates flat in tall stacks for the same reason. And never place a heavy appliance, cast iron pan, or stack of cookbooks on top of fragile dishes.
Loading matters after you finish packing
Even a perfectly packed dish box can be damaged if it is loaded poorly. Keep dish boxes upright and place them on a flat, stable area of the truck. They should not sit under furniture, appliances, or heavy tote bins. Secure nearby items so they cannot slide into the boxes during transport.
If you are using a rental truck, moving container, or portable storage unit, protect the dish boxes from direct pressure. Load heavier furniture and appliances first, secure them, then place fragile kitchen boxes in a protected section where they can remain upright. Do not use them as filler at the end of the load.
Professional packers can be worthwhile when time is short, the kitchen includes high-value pieces, or you simply do not want to risk packing under pressure. Move Forward LLC can provide packing support or skilled moving labor for customers who want careful handling without taking on every part of the move themselves.
Questions people ask about packing dishes
Should I use bubble wrap or packing paper for dishes?
Packing paper is usually the better everyday choice because it wraps closely, fills gaps, and lets you pack dishes efficiently. Use bubble wrap selectively for crystal, thin glass, heirlooms, and unusually delicate serving pieces. Using bubble wrap for every plate adds bulk and can make boxes harder to pack tightly.
Can I pack dishes in plastic bins?
You can, but cardboard dish boxes are often easier to manage because they are lighter and easier to label. If you use a plastic bin, make sure it has a secure lid, do not overfill it, and still wrap every dish. Rigid bins can transfer impact directly to the contents if they are dropped or stacked carelessly.
How many dishes should go in one box?
There is no single number because stoneware weighs much more than lightweight porcelain. Pack until the box is full enough that nothing moves, then stop before it becomes difficult to lift. For most households, several small dish boxes are safer than one large, overloaded box.
A careful kitchen pack takes time, but it is time well spent. Wrap each item, keep the weight reasonable, eliminate empty space, and protect the boxes during loading. No surprises. Just solid work that gives your dishes a better chance of arriving exactly as they left.