
How to Load PODS Containers Without Damaging Your Stuff
Learn how to load PODS containers with a safe, efficient plan for weight, furniture, tie-downs, and access. Avoid damage and wasted space on moving day.
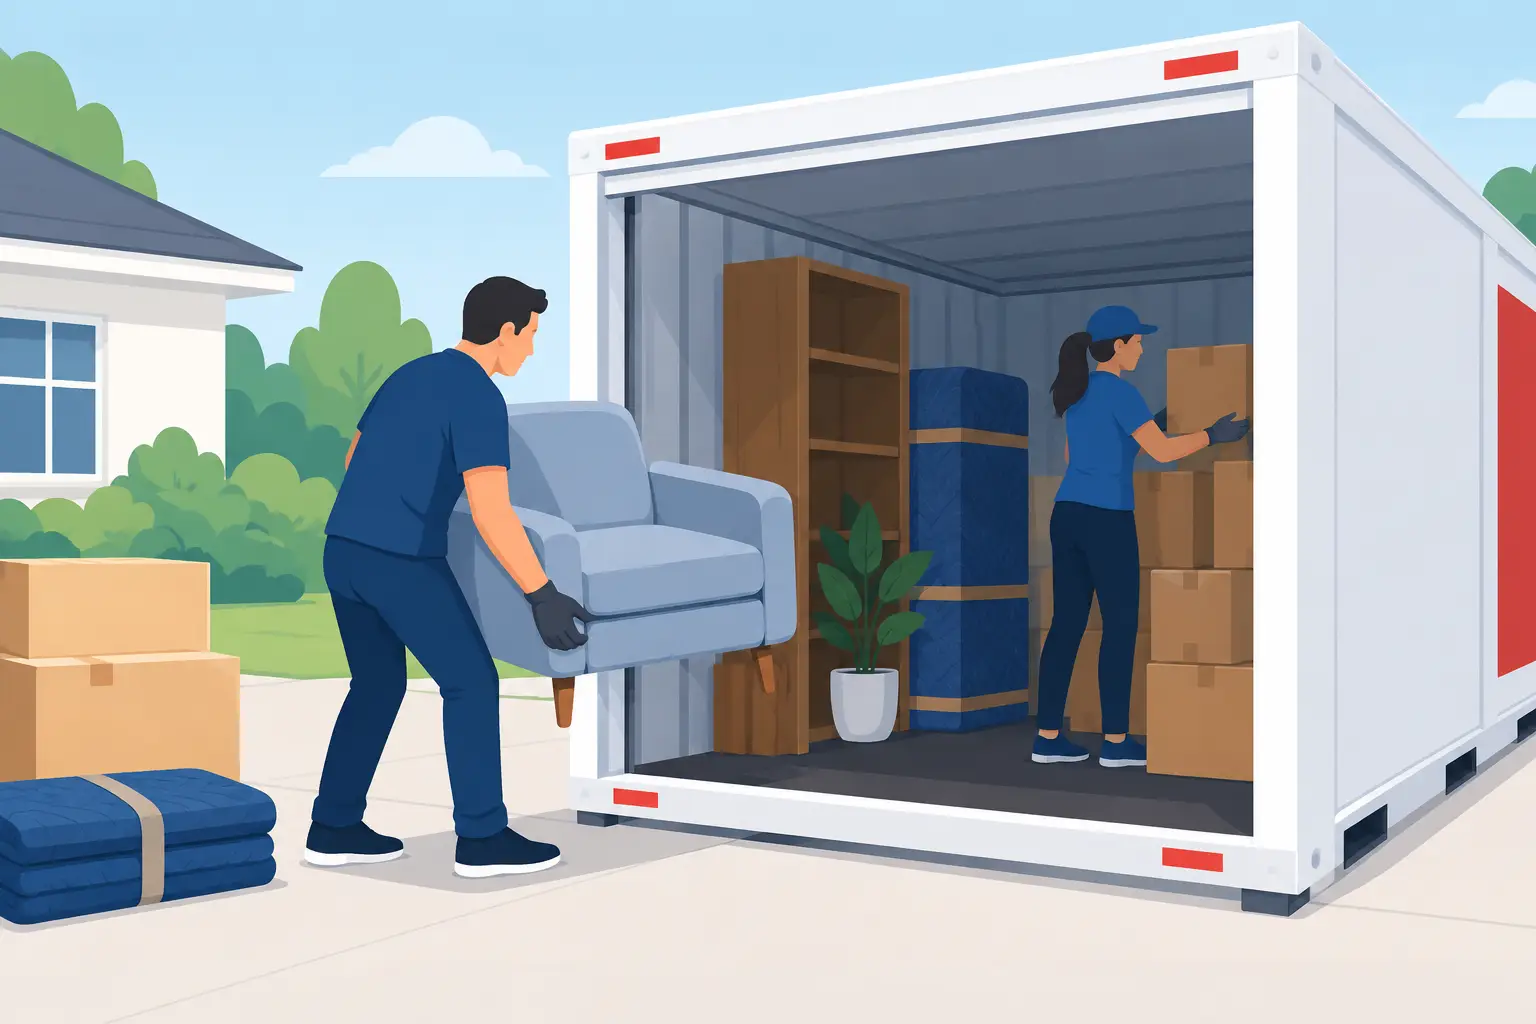
A PODS container can make a move more flexible, but it does not make the loading part automatic. Knowing how to load PODS containers the right way protects your belongings, keeps the container balanced for transport, and saves you from opening the door at your new place to find a wall of loose boxes.
The goal is simple: build stable, tight sections from floor to ceiling, keep heavy weight low and centered, and secure each section before moving on. A little planning goes a long way here. No surprises. Just solid work.
Start With a Real Loading Plan
Before the container arrives, decide what is going in it, what is traveling in your vehicle, and what needs to be unpacked first. Keep medications, documents, valuables, daily essentials, and anything you cannot replace with you rather than inside the container.
Measure your largest pieces, especially sectionals, mattresses, appliances, desks, and shelving units. This helps you plan the order of the load instead of trying to solve the puzzle at the door. If you are using more than one container, divide items by room or by priority. For example, one container might hold storage items and less urgent furniture while another holds the things you will need during your first week.
Also think about the container location. You need a clear path from the home to the door, with enough room to safely carry furniture and a ramp that is not blocked by cars, hoses, toys, or loose gravel. In Spokane, Coeur d'Alene, and other Inland Northwest communities, weather can change quickly. If rain, snow, or ice is in the forecast, protect the walking path and keep moving blankets dry until they are needed.
Get the Right Supplies Before Loading Begins
A container is only as secure as the materials holding the load together. Boxes alone are not enough. You will need moving blankets for furniture, stretch wrap for upholstered pieces and drawers, quality packing tape, mattress bags, and strong ratchet straps or rope designed for moving.
Use the tie-down points inside the container. They are there for a reason. Every major section of the load should be strapped off before you build the next section. Do not rely on a stack of boxes to stay put during pickup and transport.
Avoid using damaged boxes, thin trash bags, or worn-out twine to secure belongings. Those shortcuts often fail when the container shifts, temperatures change, or a heavy item presses against them. It is cheaper to get proper supplies than replace a damaged dresser, television, or dining set.
How to Load PODS Containers Step by Step
Load from the far end of the container toward the door. Start with your heaviest and most durable items, then build around them. The basic order matters more than trying to fill every inch immediately.
- Place heavy appliances, solid wood furniture, book boxes, and dense storage bins on the floor first.
- Keep weight distributed across the width of the container instead of loading one side heavily.
- Use mattresses, sofa cushions, and moving blankets as protective buffers between hard furniture surfaces.
- Fill gaps with lighter boxes, bagged linens, pillows, or soft items that will not crush under pressure.
- Strap each completed section tightly to the interior anchor points before adding more items.
Large furniture should be disassembled when it makes sense. Remove table legs, bed frames, mirrors, and detachable shelves. Keep hardware in labeled bags and tape those bags to the matching item or place them in a clearly marked essentials box. Wrap wood and metal pieces separately so they do not rub together during transit.
For dressers and cabinets, remove fragile contents and pack them separately. Lightweight drawers can often stay in place if they are secured with stretch wrap, but do not use tape directly on finished wood surfaces. Tape can pull off finish or leave behind adhesive residue.
Build Walls, Not Random Piles
The strongest container loads are built in layers. Think of each section as a wall that needs to stand on its own. Start with heavy pieces on the bottom, add medium-weight boxes above or beside them, and use lighter items at the top.
Keep box labels facing outward whenever possible. You may not be able to see every label once the container is full, but visible labels make unloading much faster. Clearly mark boxes containing fragile items and do not place anything heavy on top of them, no matter how much space appears available.
Do not stack boxes higher than they can safely support. A tall column of mismatched boxes may look efficient, but it can collapse during transport. Put heavier, smaller boxes on the bottom and lighter, larger boxes on top. If a stack wobbles while you are loading, it will not improve once the container is moving.
Use moving blankets generously around furniture, especially wood corners, glass doors, headboards, and tabletops. Stretch wrap helps keep blankets in place, but it should not be your only protection. Wrap first, then secure.
Keep the Weight Balanced and the Door Clear
An uneven load can create problems during pickup and delivery. Do not place all books, tools, appliances, or heavy furniture along one wall or near the door. Spread dense items across the container floor, then balance them with furniture and boxes on the opposite side.
The last few feet near the door deserve extra attention. Many people leave this area for odds and ends, then discover those items are the first to shift when the container moves. Build a final stable section, strap it down, and leave enough room to close the door without forcing it against boxes or furniture.
If you have a few loose items left at the end, do not wedge them into a weak gap. Pack them into a box, secure them in a tote, or take them in your vehicle. A container packed slightly less full but properly secured is better than one crammed full of unstable items.
Items That Need Special Handling
Mattresses should be bagged and loaded along a wall or used as a buffer between furniture sections. Mirrors, framed art, glass tabletops, and televisions should be protected with moving blankets and placed upright whenever possible. Never lay heavy boxes on top of glass or screens.
Refrigerators, freezers, washers, and dryers need preparation before loading. Defrost and dry appliances well in advance, disconnect hoses, and secure doors and cords. Most appliances should stay upright to reduce the risk of internal damage. Check the manufacturer's guidance if you are unsure about a specific item.
PODS containers are not the place for hazardous materials, perishable food, propane tanks, fuel, chemicals, or other restricted items. Temperature-sensitive belongings also need careful thought. Extreme heat, cold, and moisture can affect candles, electronics, artwork, records, and certain household products.
Common Loading Mistakes to Avoid
The biggest mistake is loading without straps. Even a tightly packed container can shift, and one moving section can damage everything around it. Secure every major furniture-and-box wall as you go.
Another common problem is putting heavy items on top of furniture or weak boxes. That creates pressure points that crack wood, crush cartons, and damage what is inside. Keep dense weight low, and use the top space for lighter belongings.
Finally, do not underestimate the physical work. Carrying a couch down a ramp, turning a refrigerator through a doorway, or stacking boxes overhead can lead to injuries and property damage when the crew is short-handed or rushed. If you have heavy items, stairs, tight access, or a full container to load in one day, labor-only moving help can be a smart middle ground. You provide the container, and trained movers handle the heavy lifting and loading plan.
A well-loaded PODS container should feel organized before the door closes. If something is loose, unstable, or hard to explain to the next person helping unload, fix it now. Move Forward LLC can help with the labor when you want the job handled carefully, efficiently, and without guesswork.